Getting started with Time Recorder in five steps
1. Sign in
Section titled “1. Sign in”Open fewbase.com/time-recorder and sign in with your fewbase account (see Account & billing).
2. Add a task and start the timer
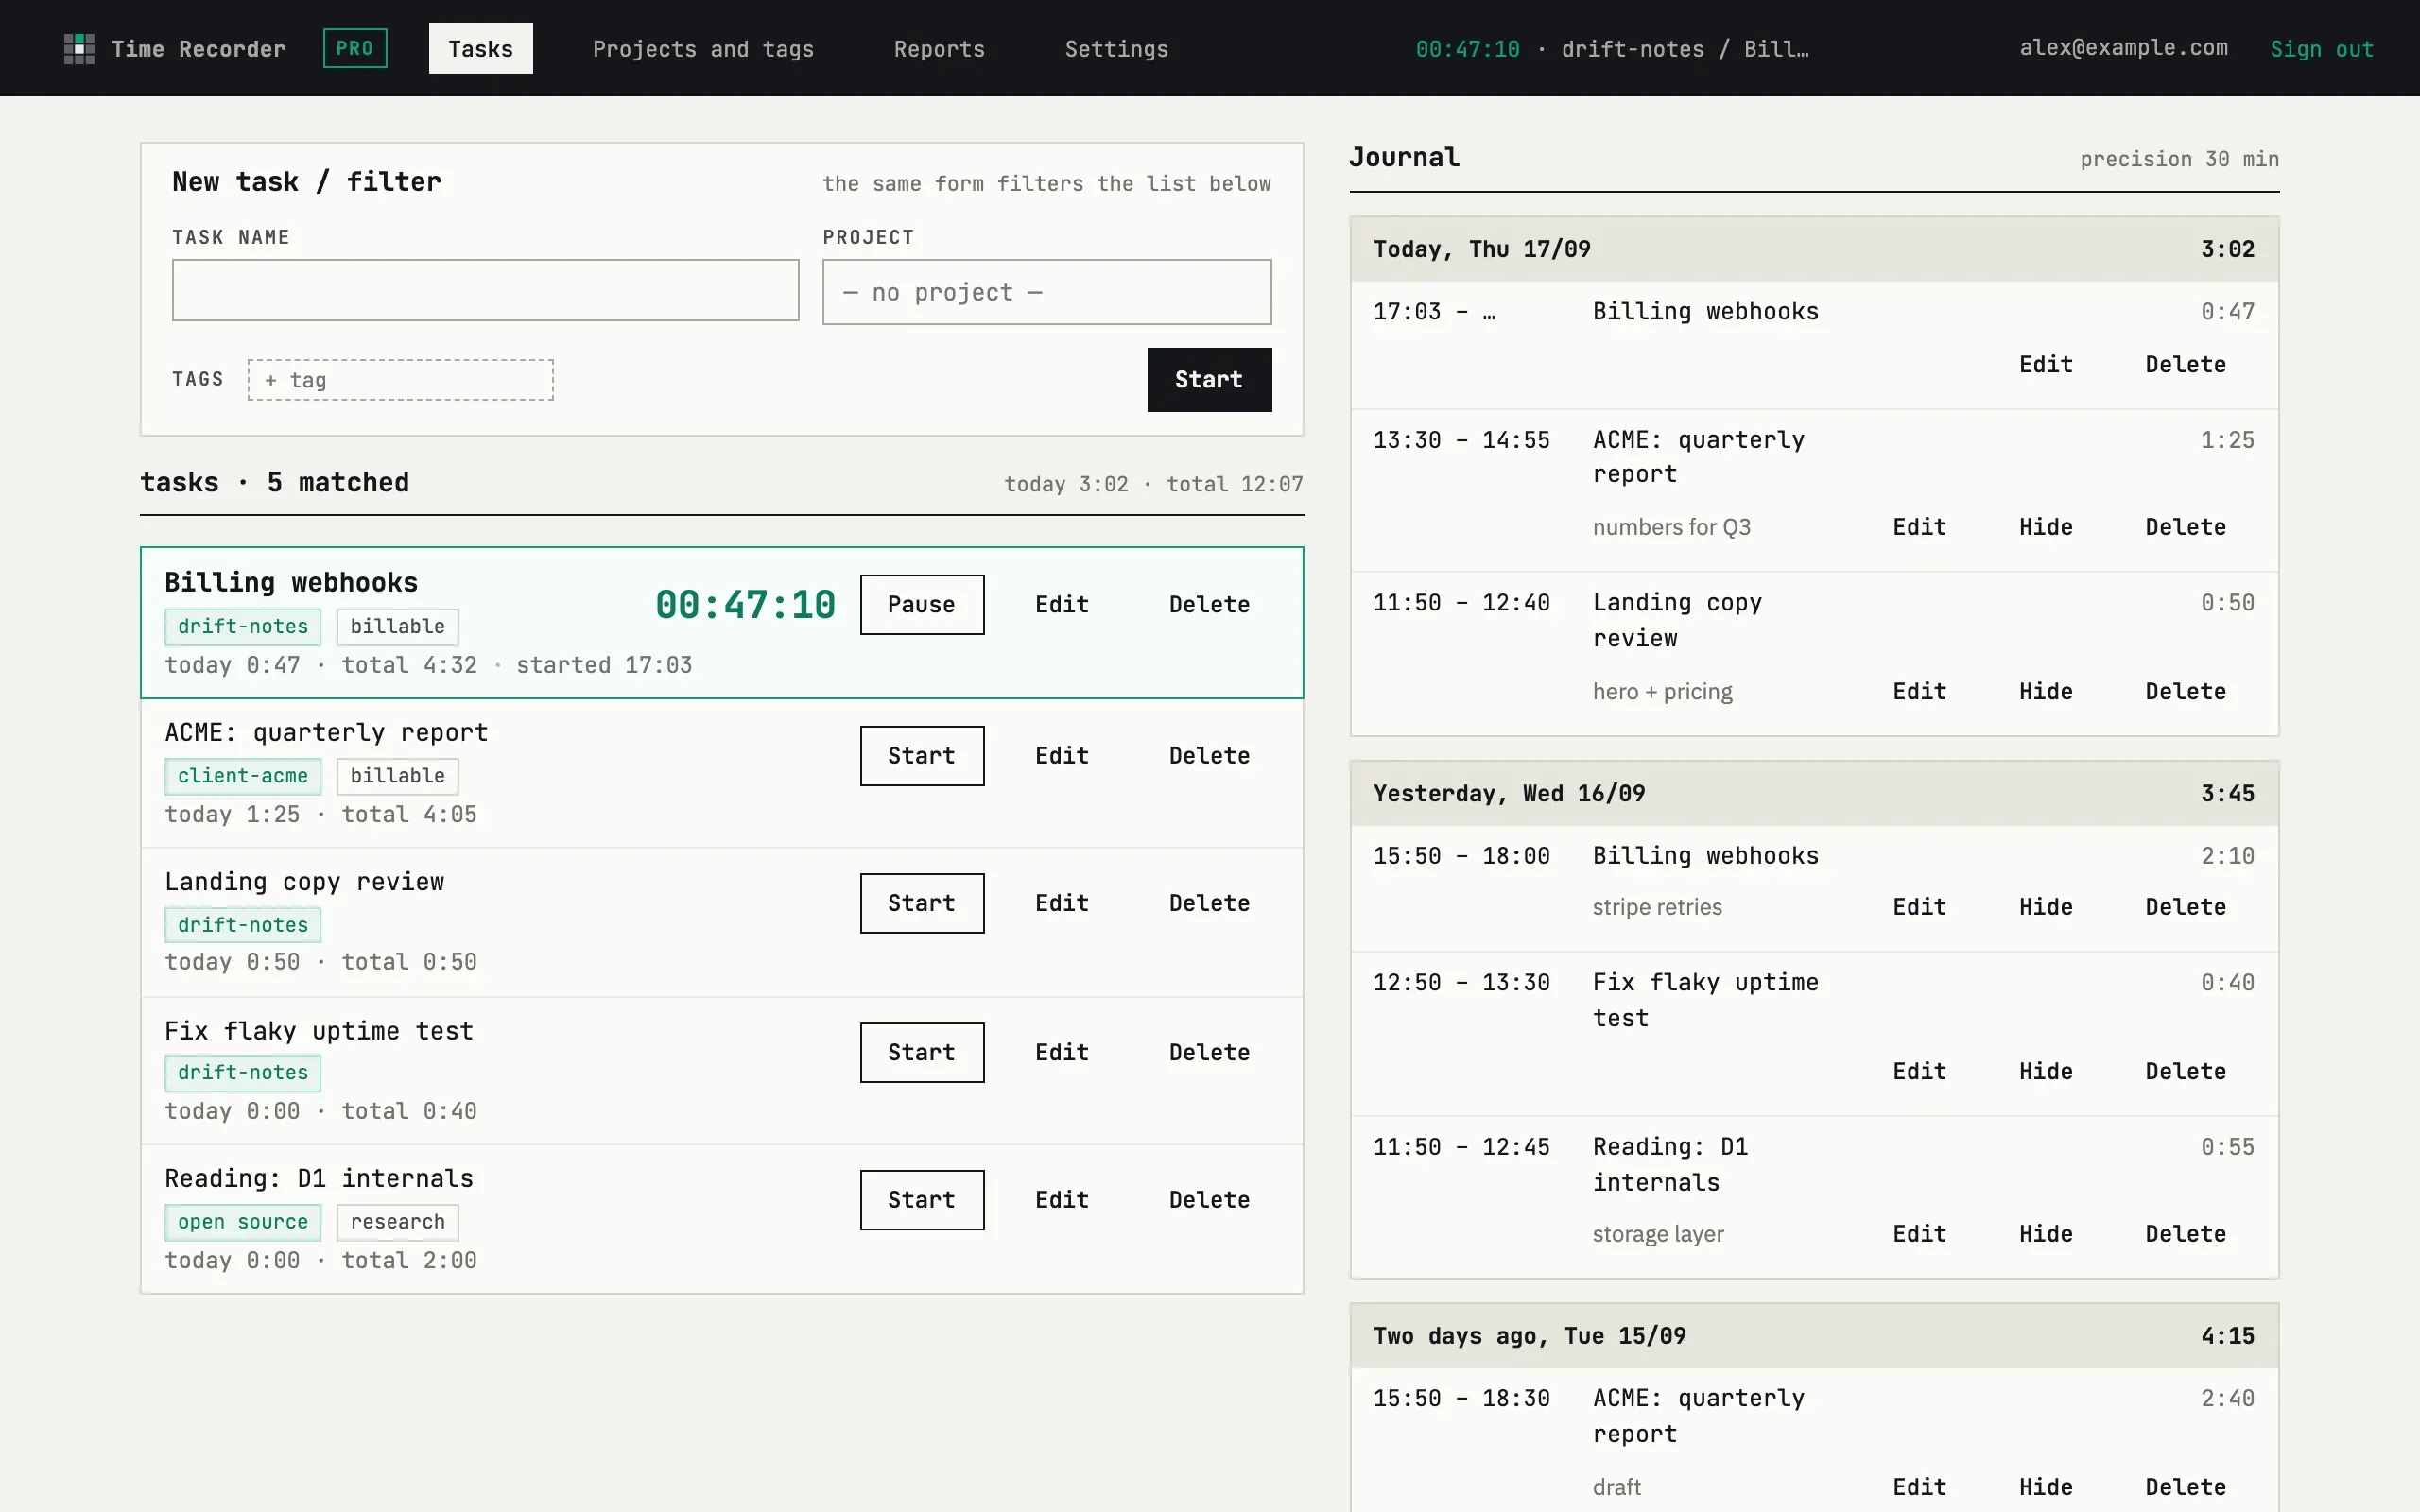
Section titled “2. Add a task and start the timer”Type the task name at the top and press Start. The timer appears in the header and the task row, and keeps running in other tabs.
Send /new Task name to @fewbase_bot to
create and start a task, or send anything else for a card with your
five most recent tasks as buttons. Tap one to start or resume it, or
pause the one that is running — there is no separate stop command.
Telegram must be linked to your account first.
3. The timer keeps running
Section titled “3. The timer keeps running”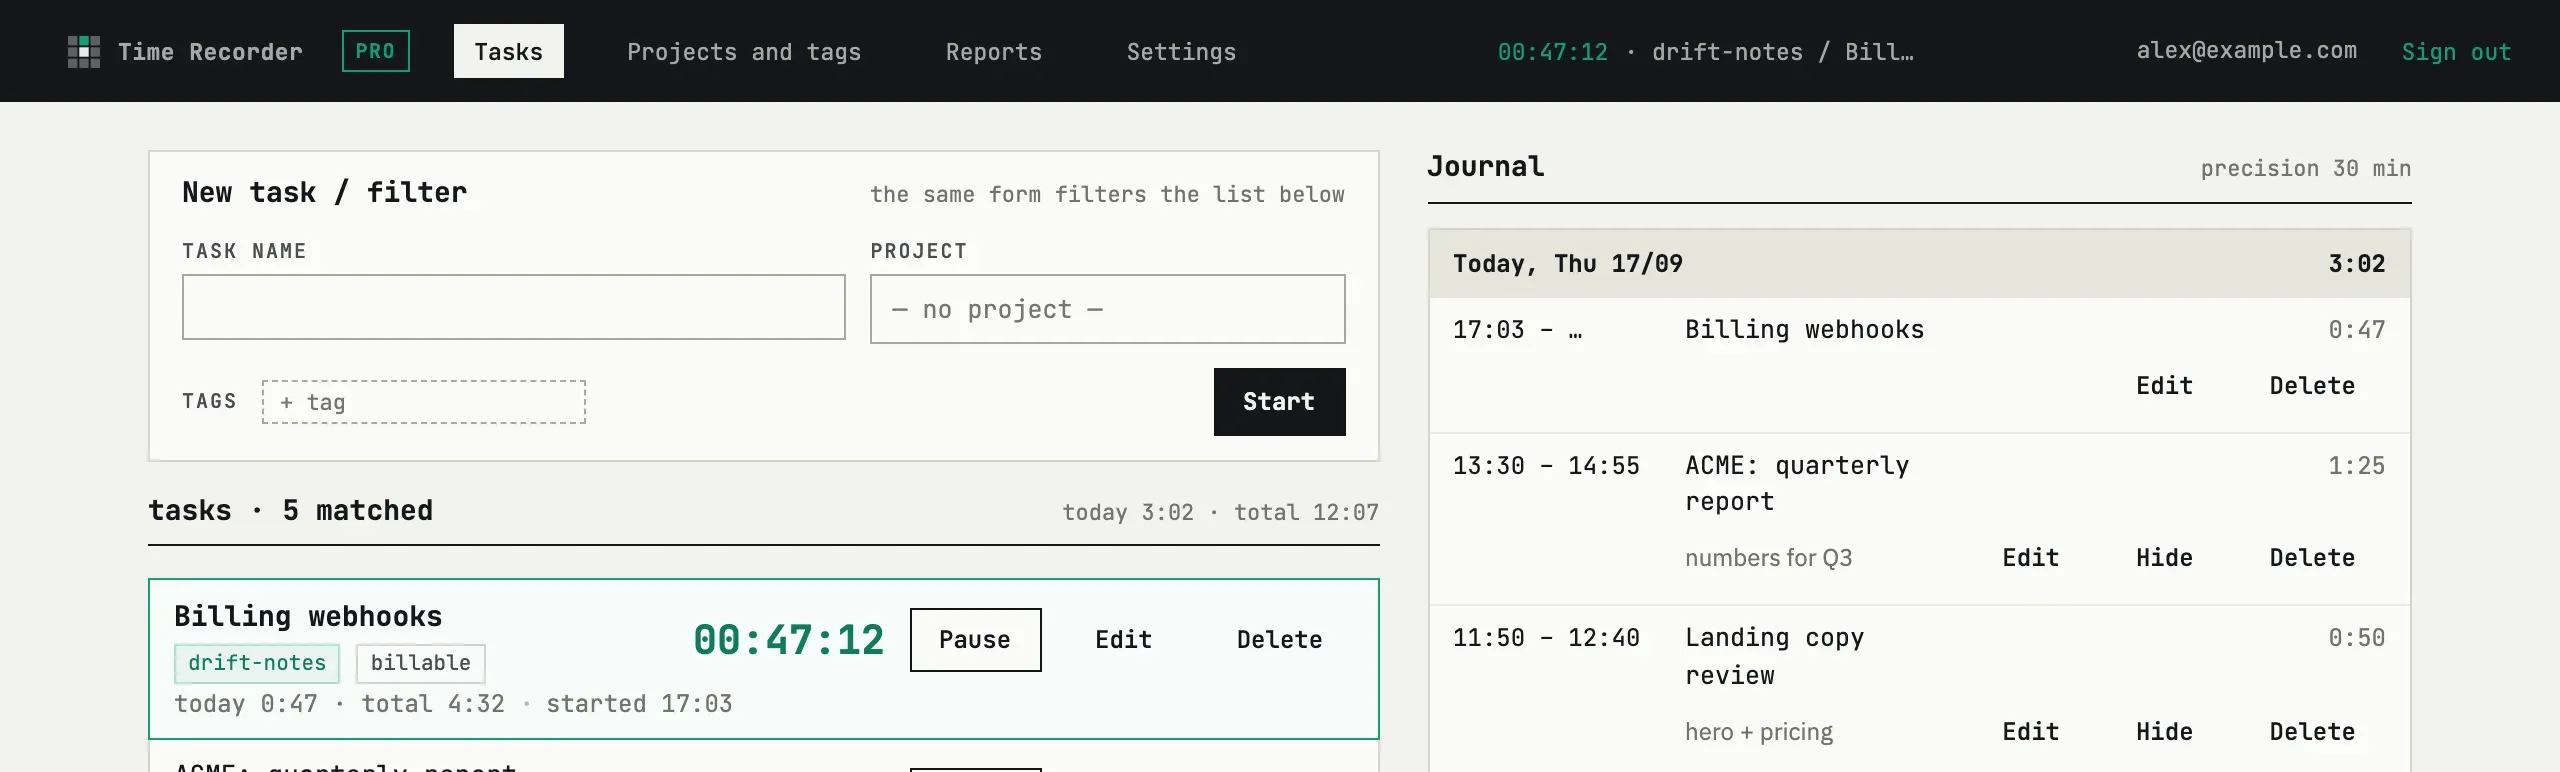
The counter in the header and the task row counts up from the moment you pressed Start, even if you leave the tab and come back. Press Pause when you stop working on the task.
4. Review the day
Section titled “4. Review the day”The day view lists every entry with start and end times, grouped by day for the last 7 days. Click Edit on an entry to change its times or note — nothing is locked.
5. Export the period
Section titled “5. Export the period”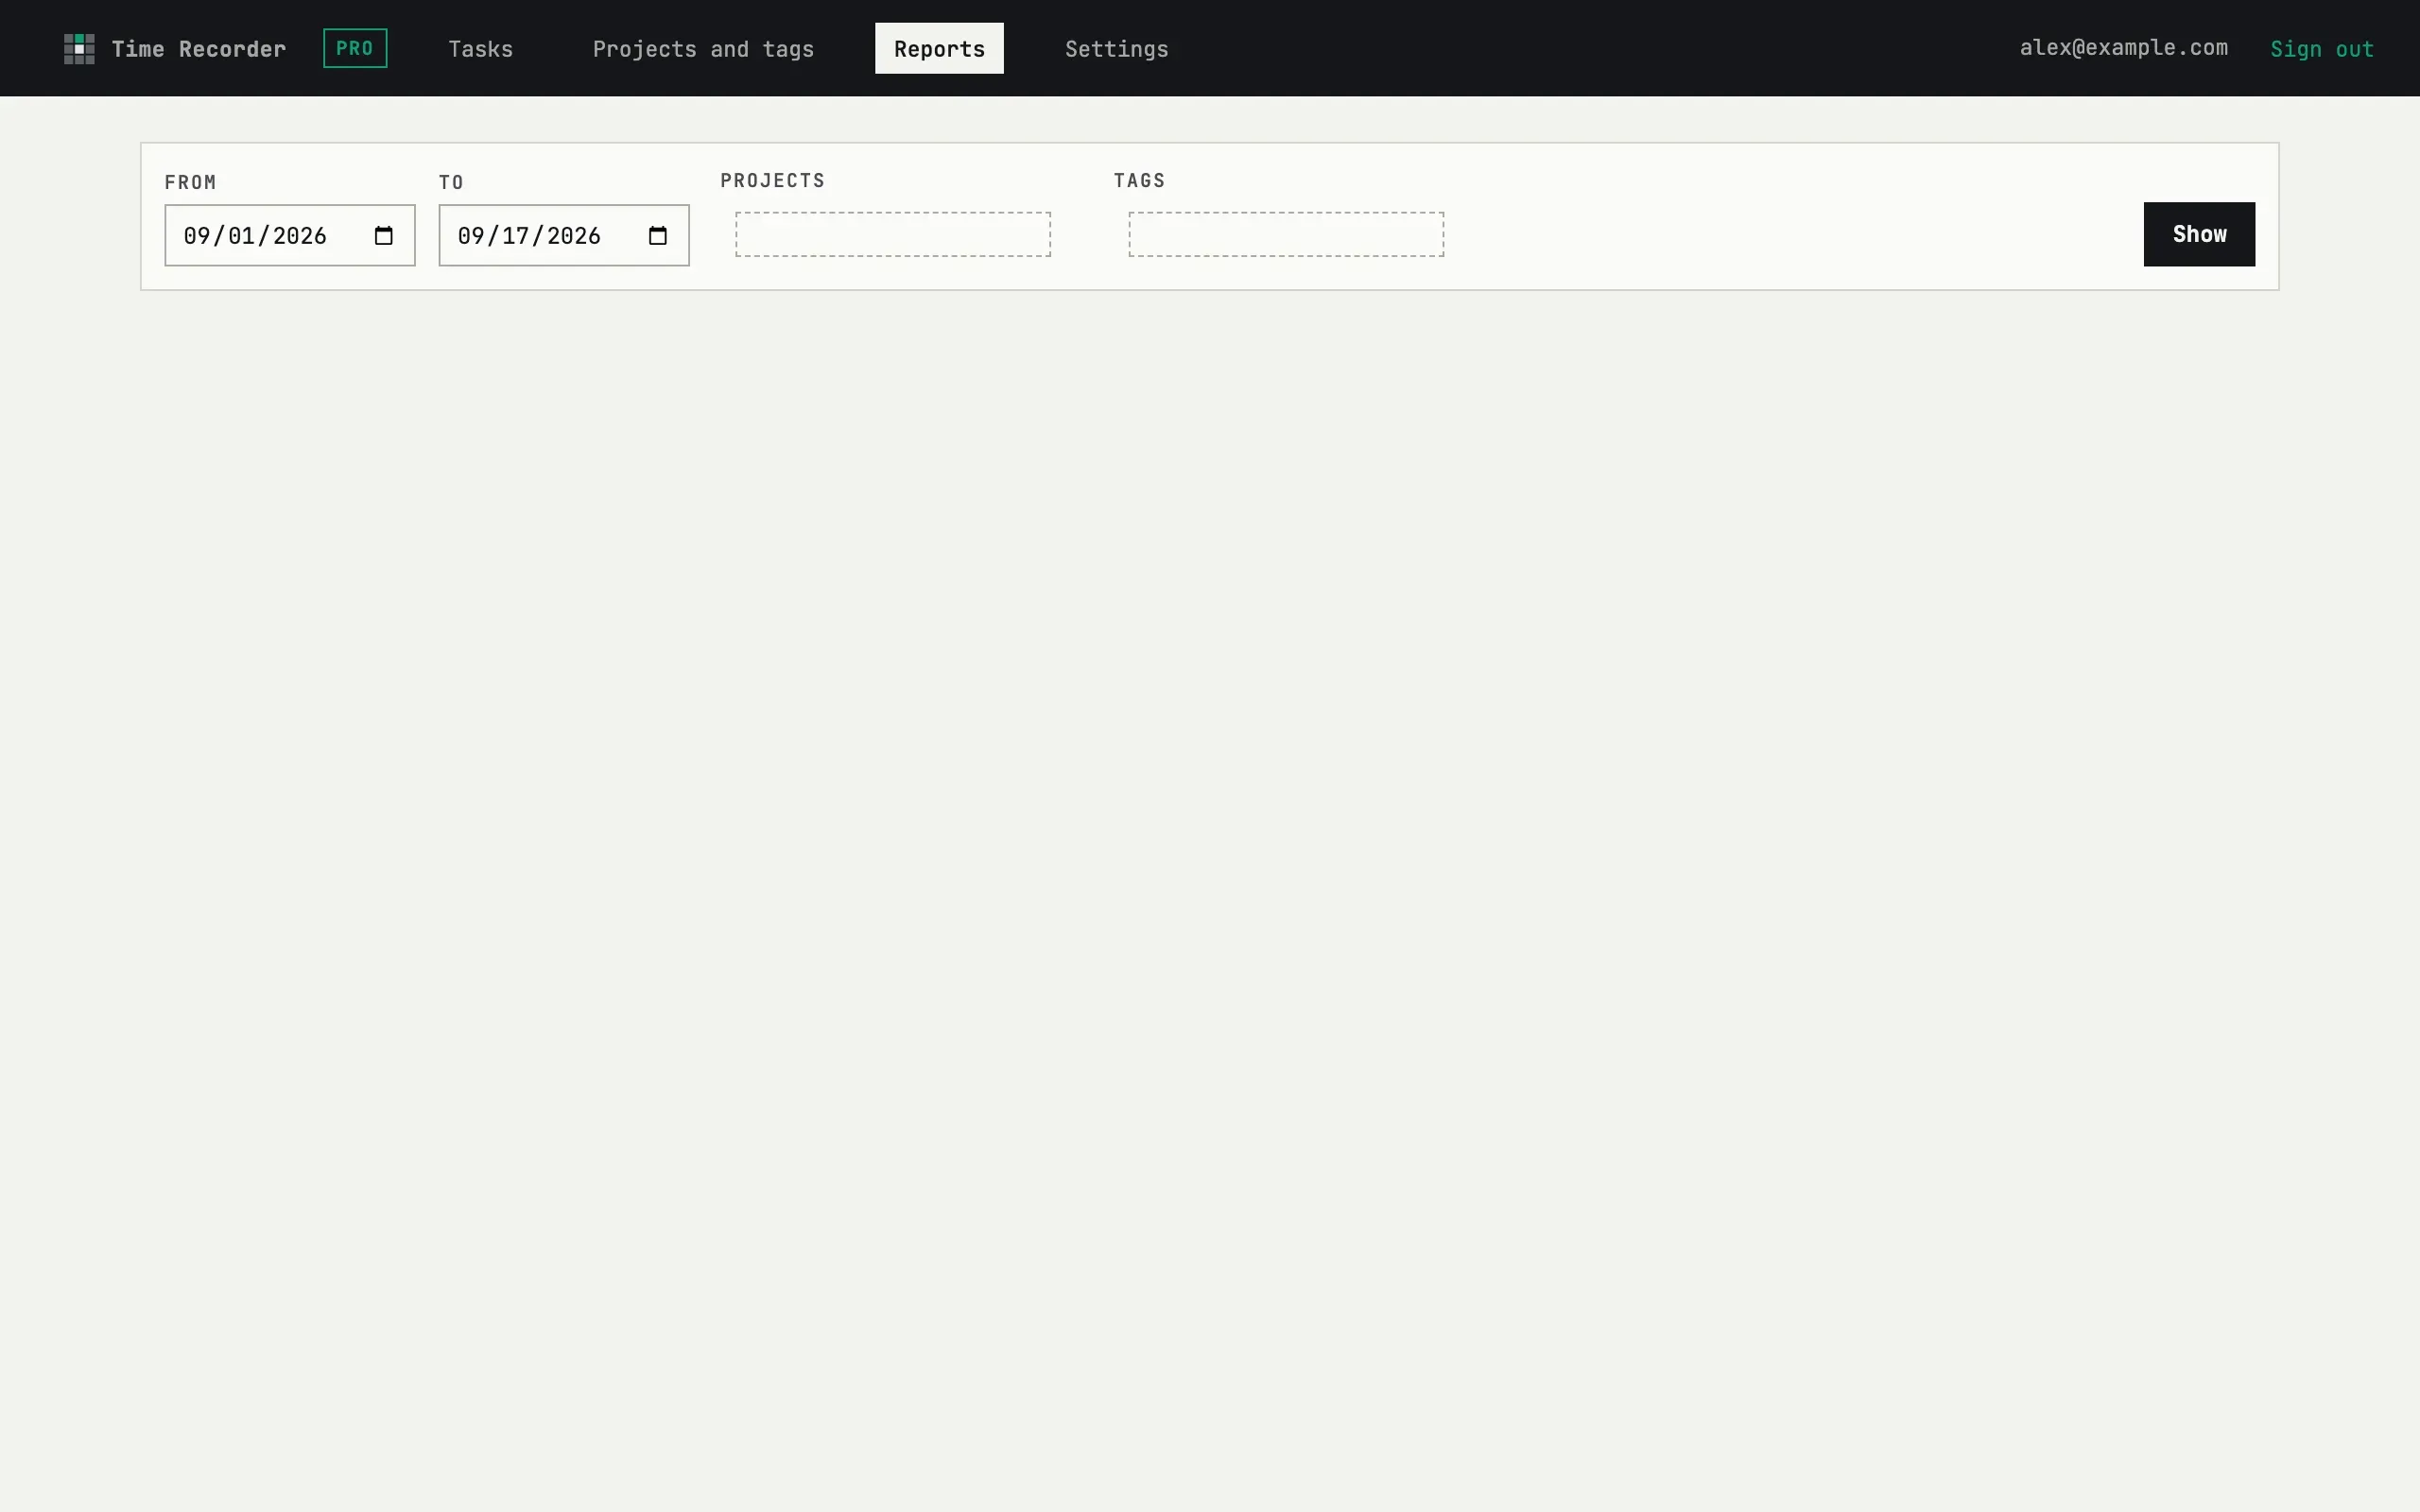
Open Reports, pick a period, and press Download PDF or Download CSV. The file is what you send to a client or file for yourself.
What counts against the free tier?
Only active projects — up to 3 on Free, unlimited on fewbase Pro (€9/mo or €90/yr). Tasks, entries and on-screen reports are unlimited on both plans; PDF/CSV exports are capped to the last 7 days on Free and 180 days on Pro.