Getting started with Support: service to first reply
1. Create a service
Section titled “1. Create a service”Open fewbase.com/support and sign in. The first screen asks for three things:
- Name — your customers see it on the portal and in the sender name of every email (“Acme via fewbase”).
- Portal address — lowercase letters, digits and hyphens, 3–32
characters. It becomes
fewbase.com/support/p/<address>and is baked into your widget code, so it cannot be changed later. - Portal and customer email language — English or Russian. Your own inbox follows your account language instead.
Press Create. The portal is live at once and accepts requests.
2. Give your customers a way in
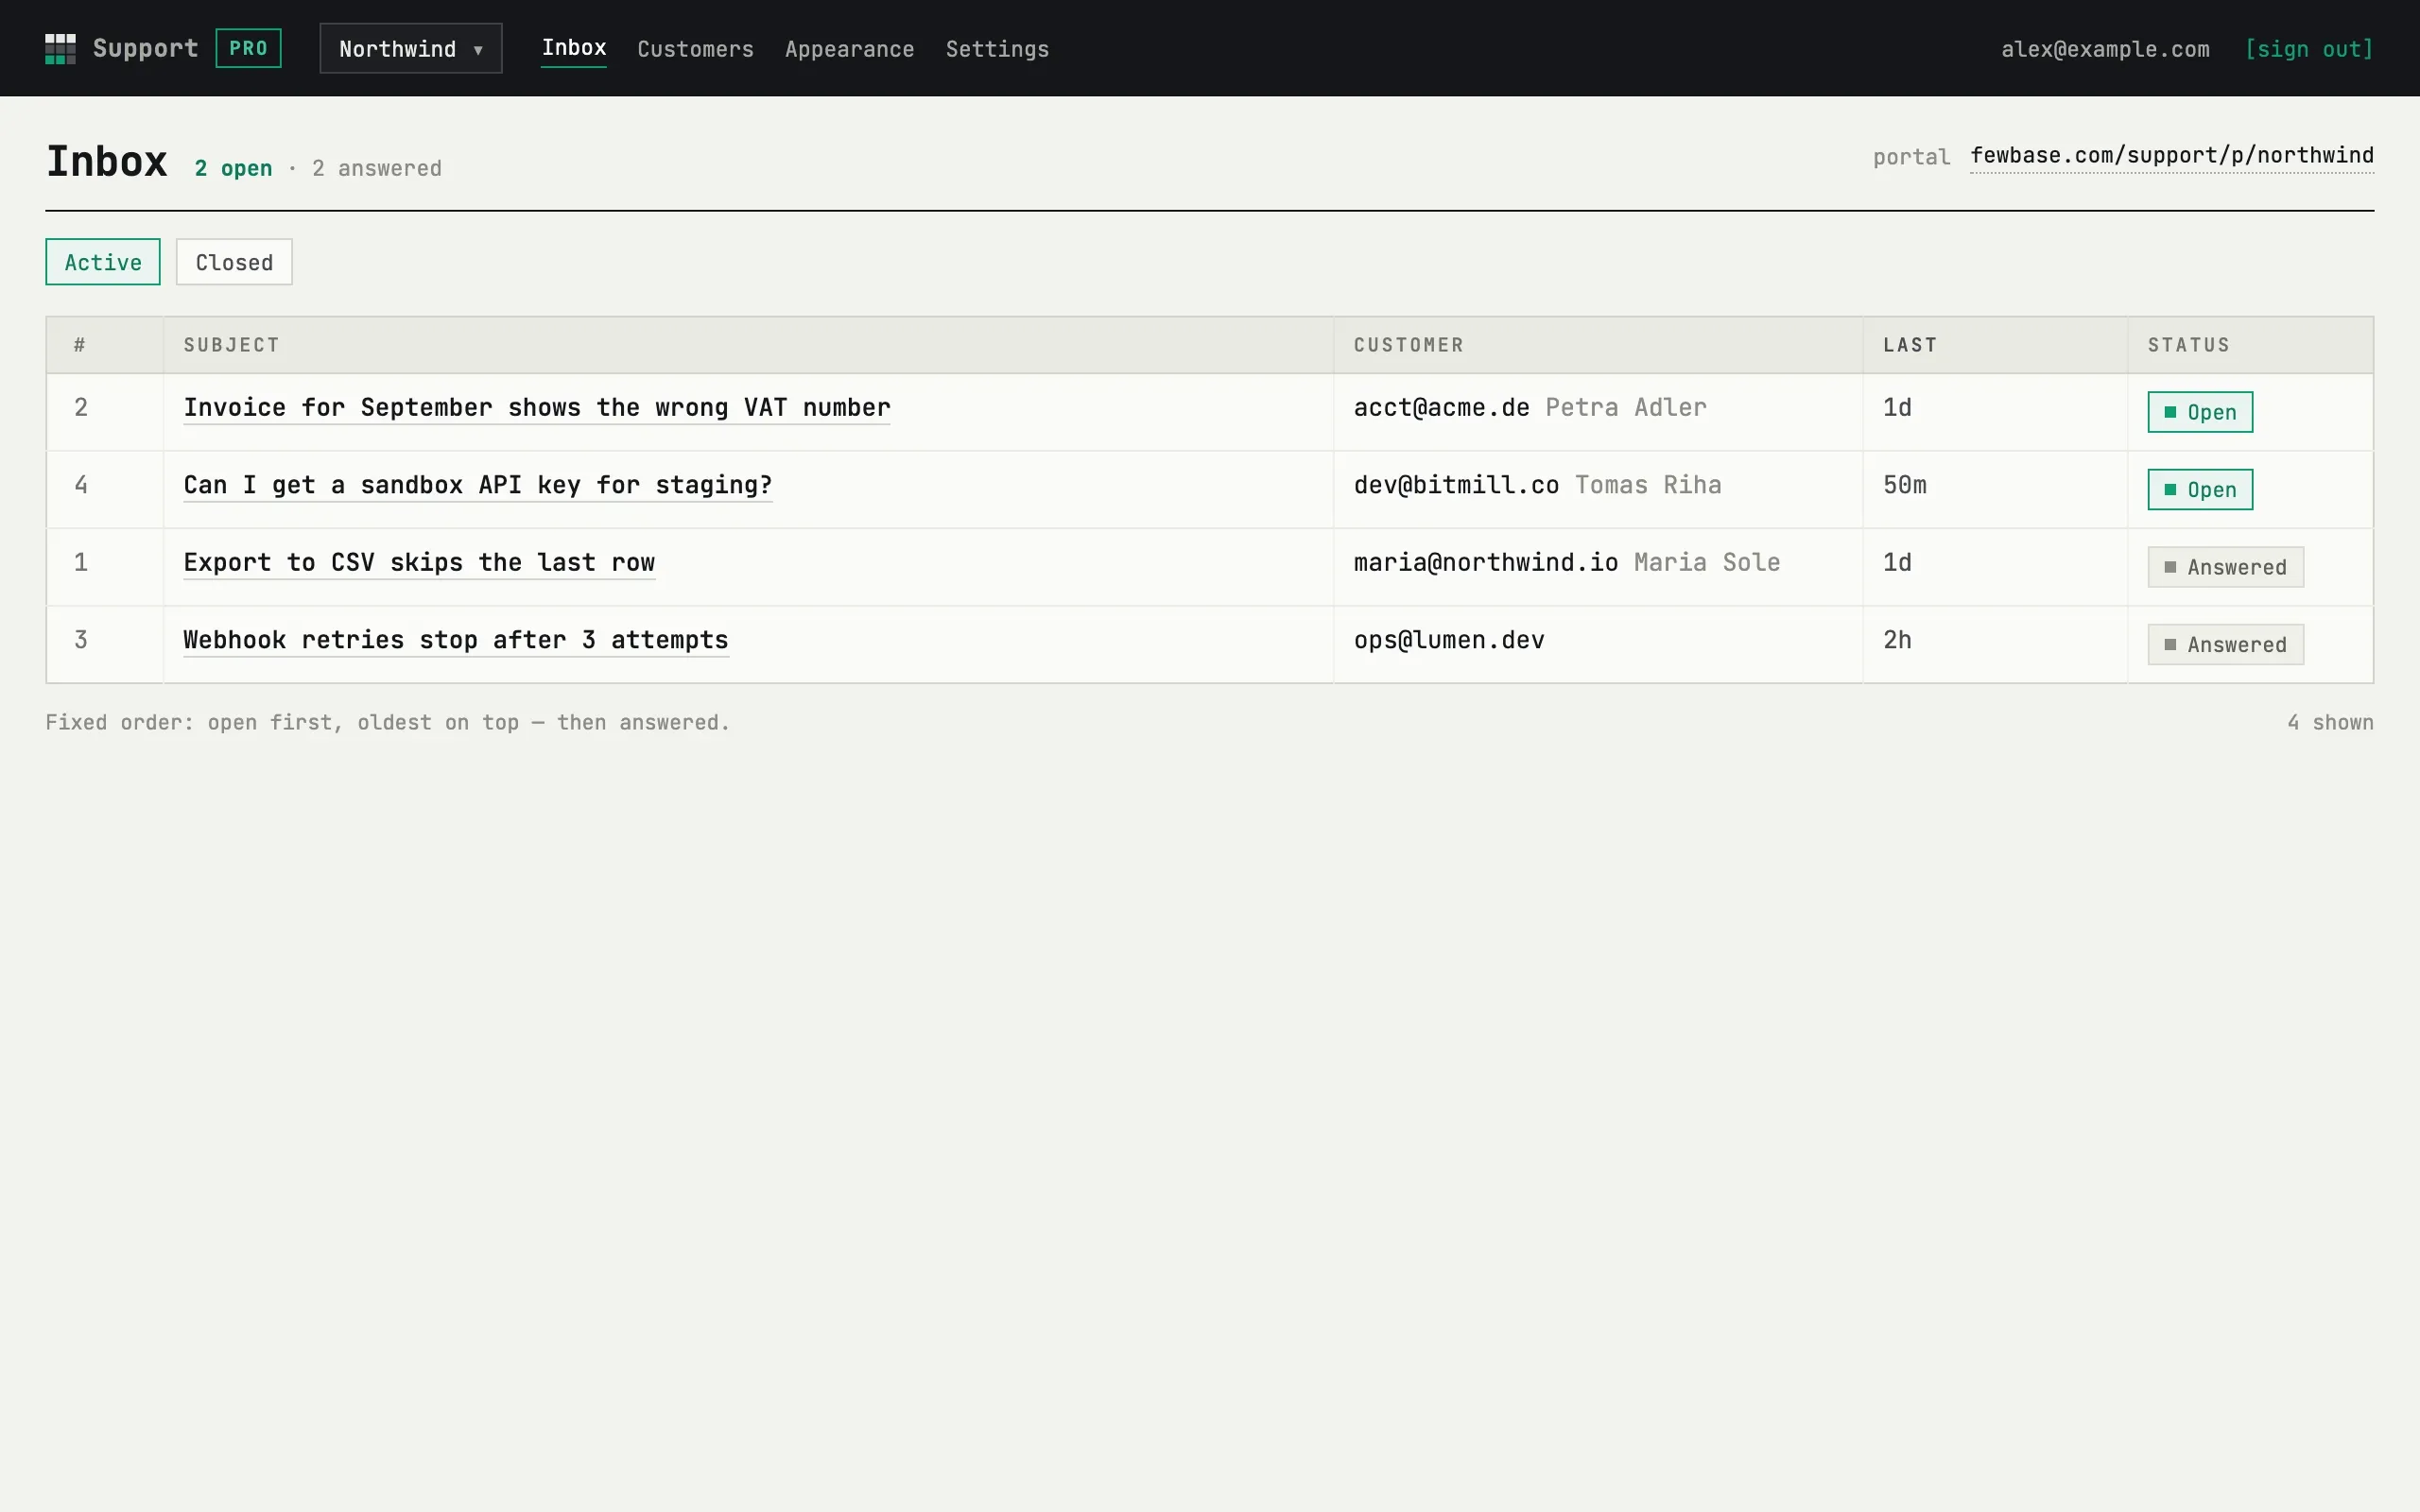
Section titled “2. Give your customers a way in”Either send them the portal address shown at the top of the inbox, or add
the widget to your site: the Appearance tab gives you one <script>
line to paste before </body>, plus a builder to match the widget to your
site. See Widget.
3. Answer the first request
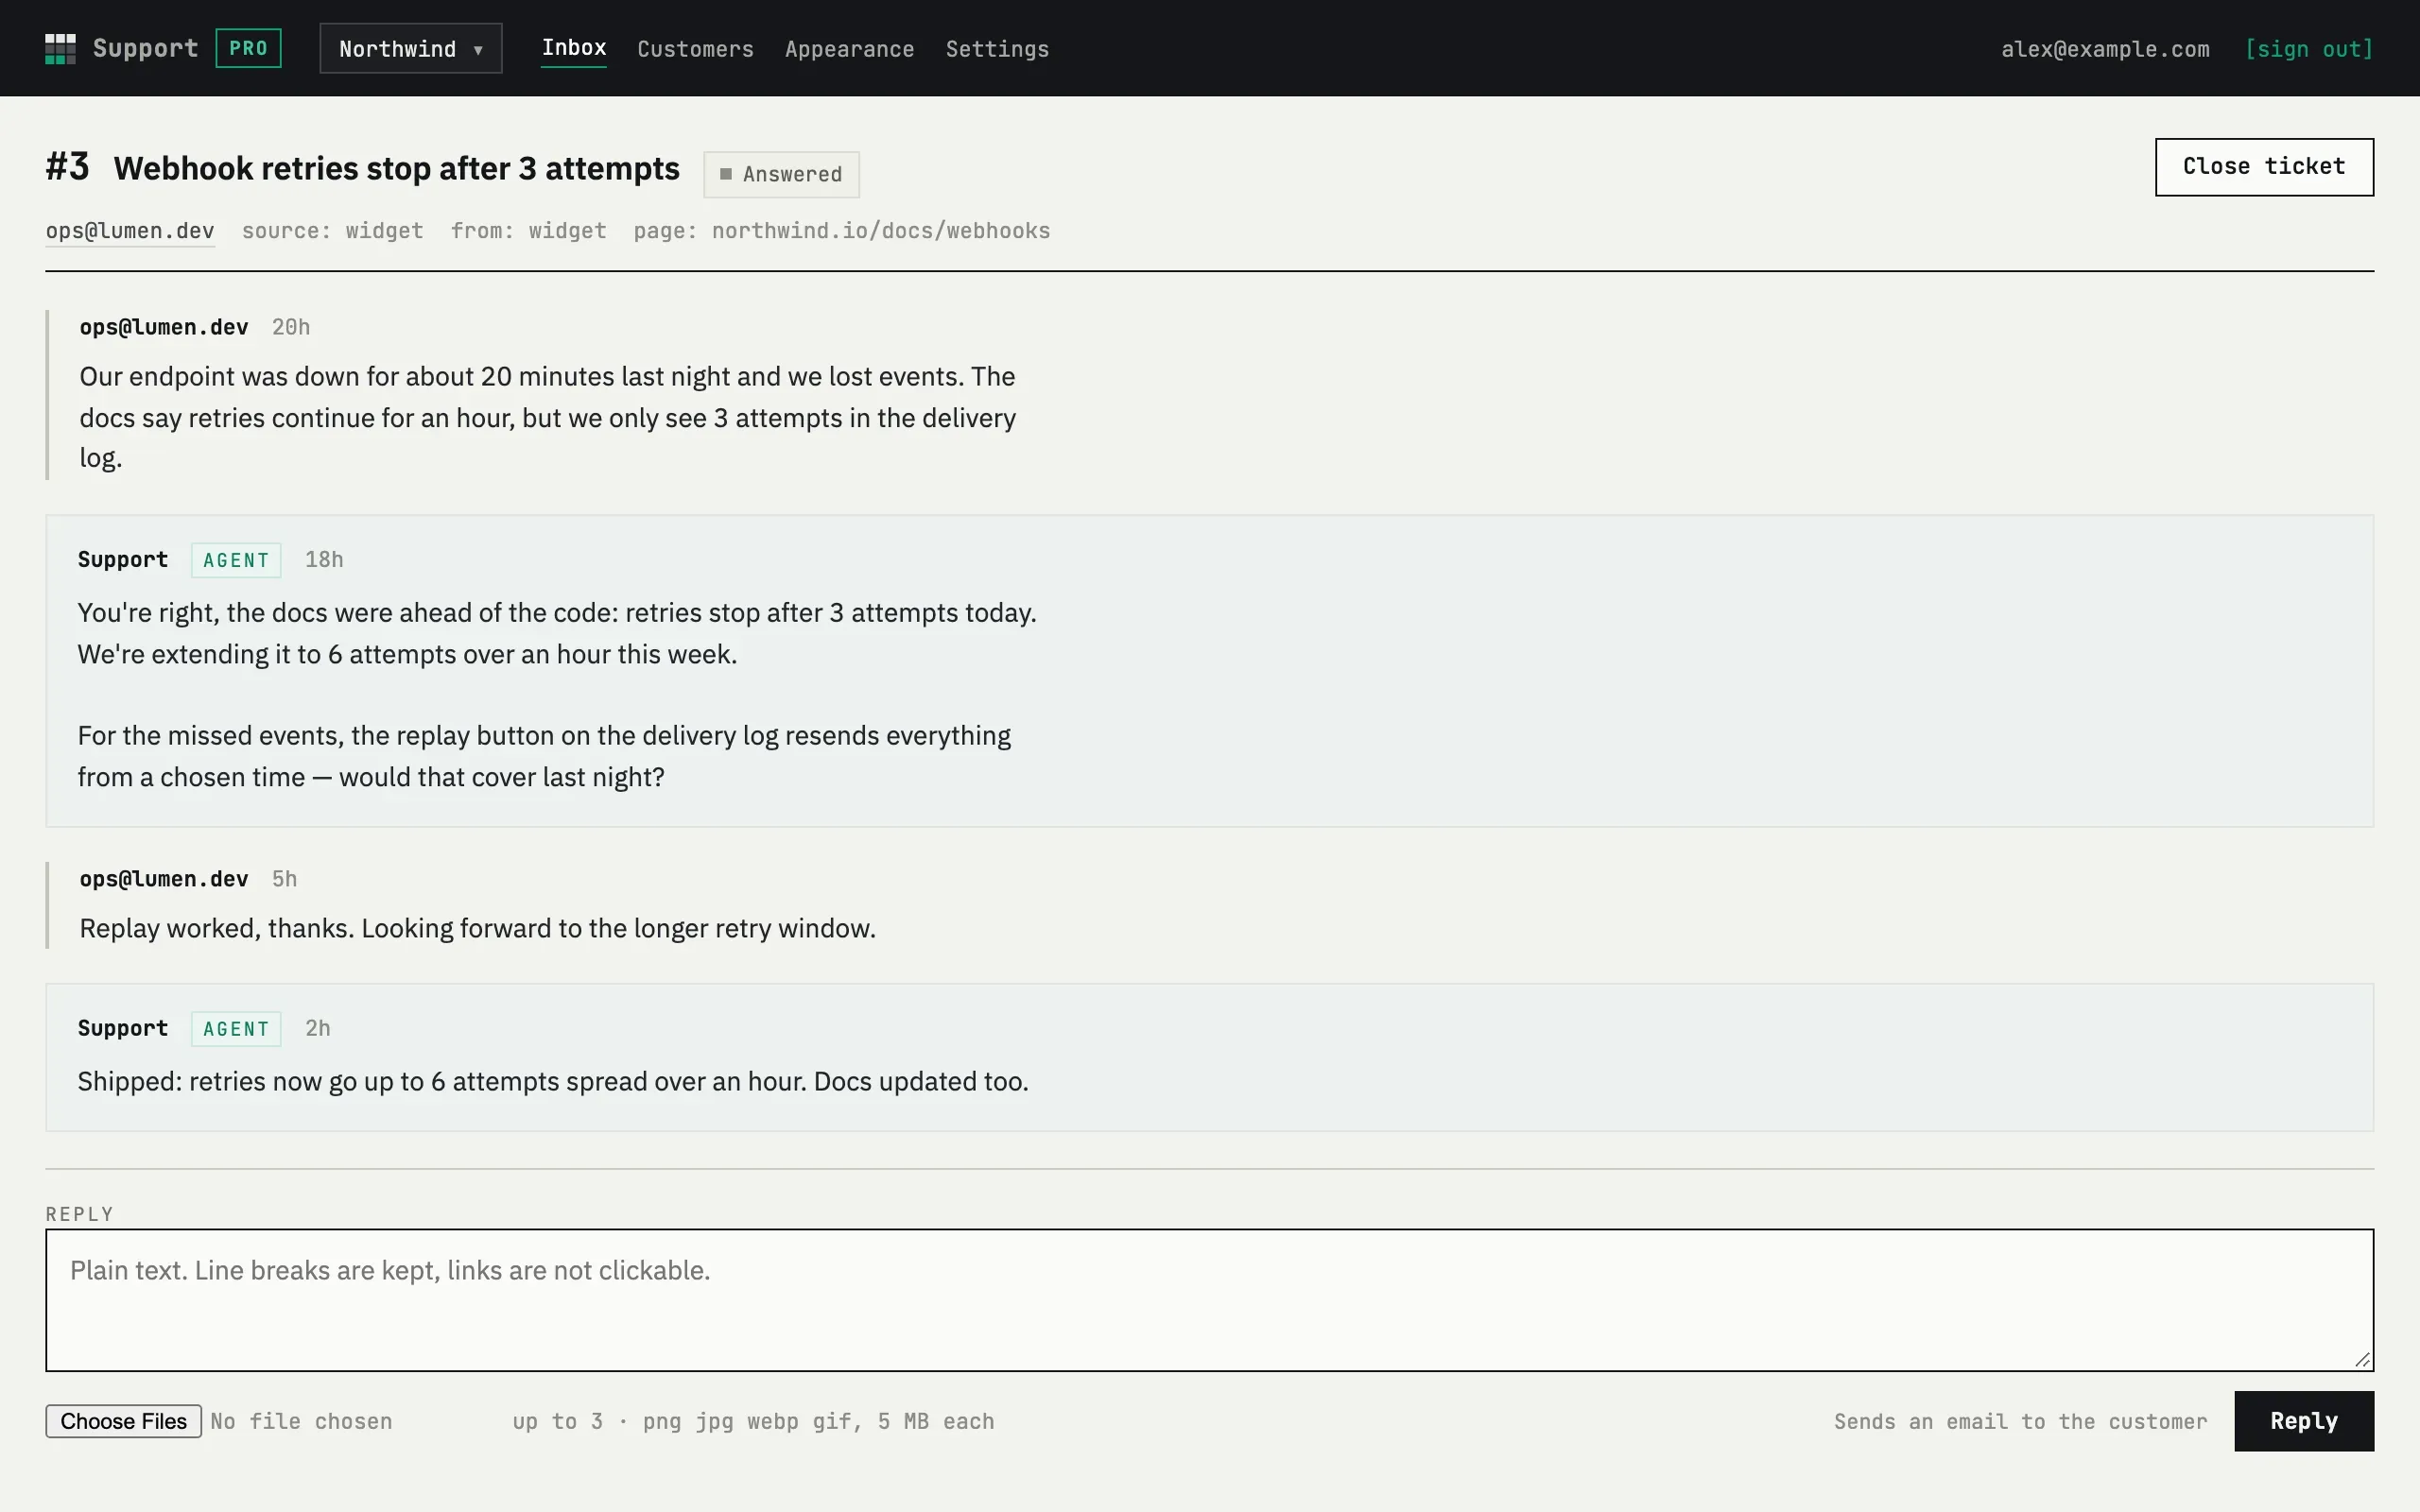
Section titled “3. Answer the first request”When a customer sends a request, you get an email with the first lines and an Open in inbox button. Open the request, write a reply and press Reply. The customer gets it by email with a button that opens the thread on their personal page. The request moves to Answered; when the customer writes back it returns to Open.
The customer says they got nothing
A guest’s first request is not created until they press the button in the confirmation email, so nothing shows in your inbox before that. Ask them to check spam — the sender is “your service name via fewbase”. The link lasts 24 hours; after that they simply write again.
Can I try the form myself?
Yes — open your portal address in a private window and send a request to your own email. You go through the same confirmation as a customer would.