Getting started with your fewbase account setup
1. Sign in
Section titled “1. Sign in”Open fewbase.com/login, enter your email and press Send the link.
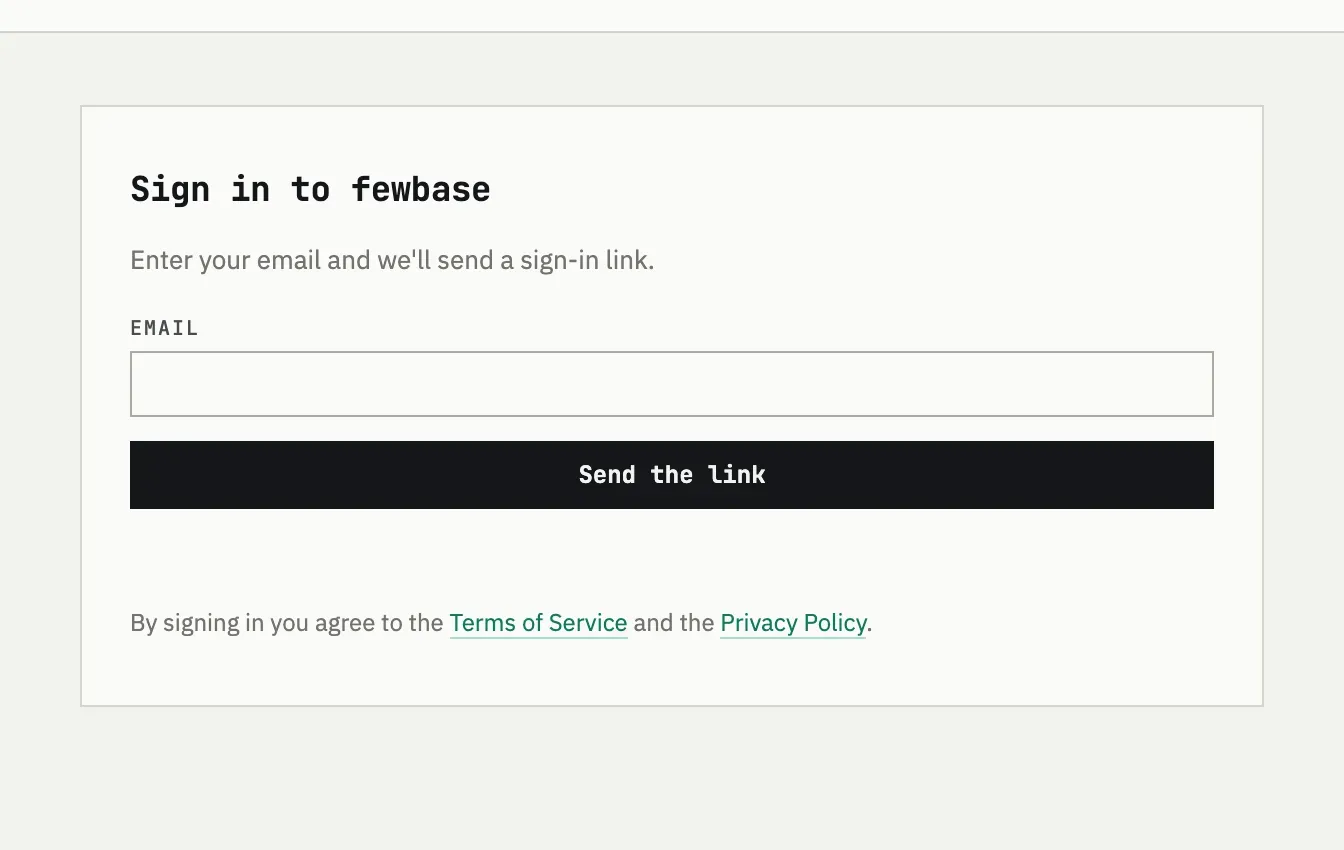
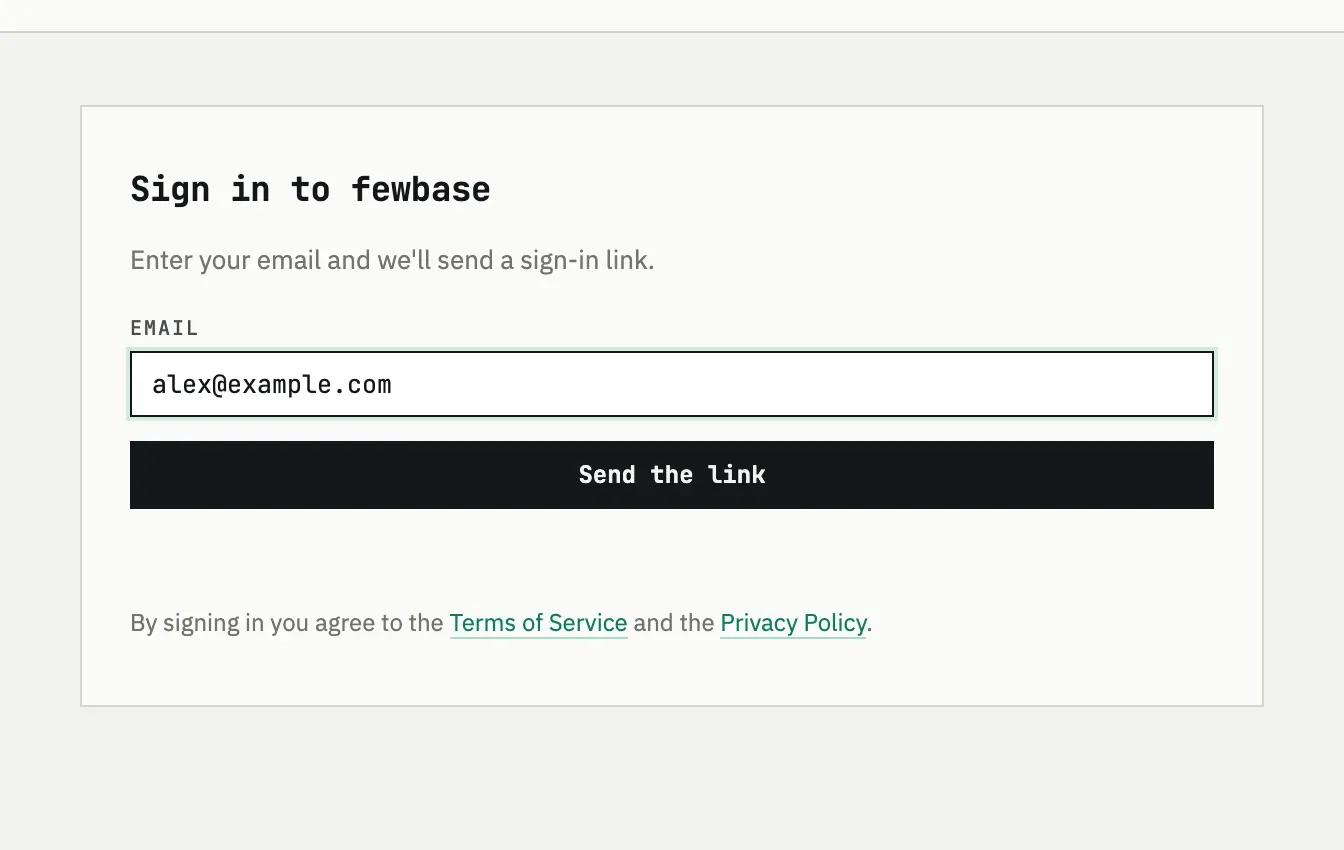
The email arrives from info@fewbase.com; opening the link shows a
confirmation page — press Sign in there to finish. The link works once
and expires after 15 minutes.
2. Fill in the profile
Section titled “2. Fill in the profile”At fewbase.com/account set your display name and time zone. The time zone matters for daily reports and reminders in every tool.
3. Link Telegram (optional)
Section titled “3. Link Telegram (optional)”Telegram is a remote control for some tools and a notification channel for others. One link serves all of them.
On the account page press Connect Telegram. You get a one-time code and a link to the bot; open the link and send the code.
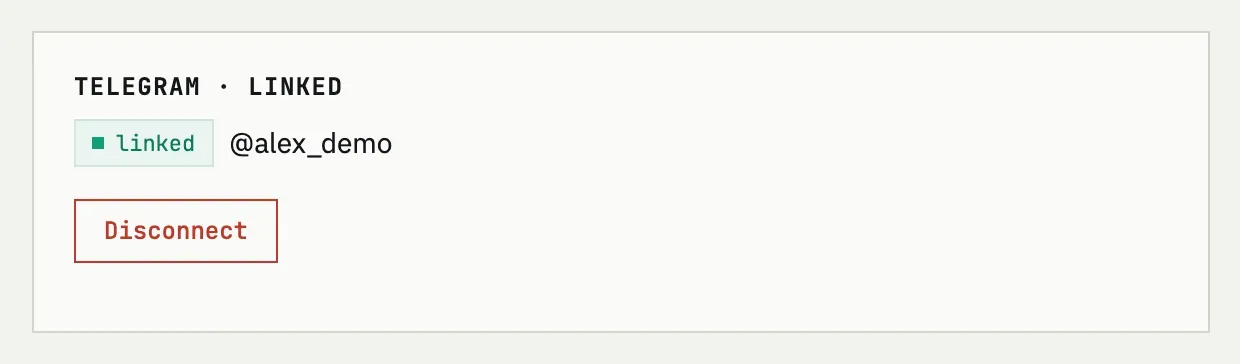
Open @fewbase_bot, press Start, then paste the code from the account page.
Can I unlink Telegram later?
Yes — press Disconnect on the account page. The tools keep working in the browser; only the Telegram notifications and commands stop.
4. Pick a tool
Section titled “4. Pick a tool”Each tool starts free. Upgrade to fewbase Pro or Business inside the tool when you hit a limit — one subscription unlocks every tool at once; the payment page is Stripe’s, fewbase never sees your card.